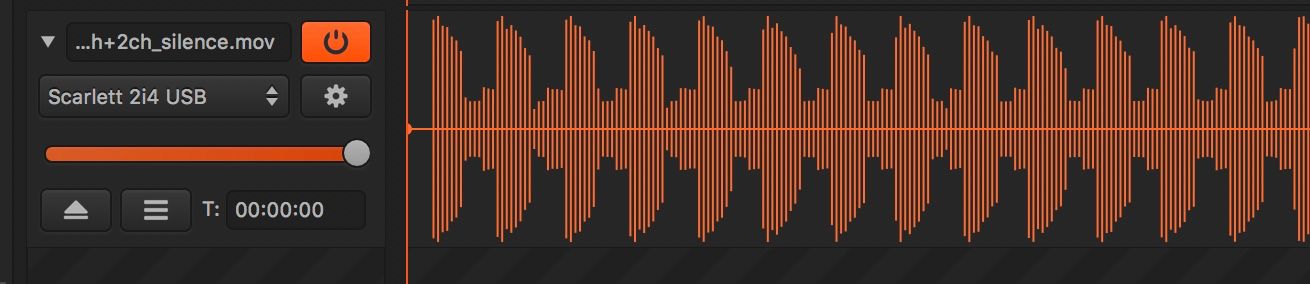
Audio Tracks are different than the other Track types, since an Audio Track does not hold Keyframes data, but an audio file.
To create an Audio Track you can
- select Project→Add Audio Track from the Menu Bar
click on the + button on the Composition interface - or you can drag'n'drop an audio file to the Composition interface from Finder
The supported audio file formats are
- wav
- aif
- mp3
- m4a
- aac
- mp4 (depending on the audio codec, Vezér can extract the audio data from an mp4 video file too)
Controls
- The name of the Track. This is for management purposes only.
- A button for enable/disable the Track
- Audio output preferences
- Volume
- Filtering
- Start Time field
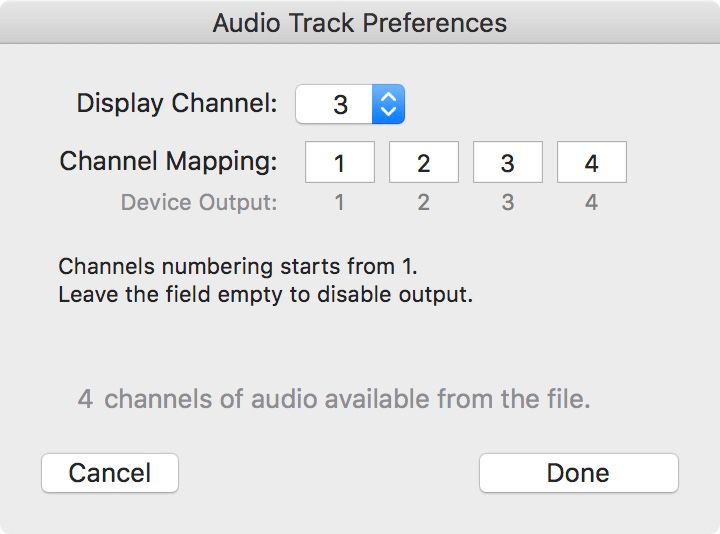
Preferences
On the Display Channel popup you can select which audio channel from the file should be used to display the audio waveform - also this channel will be used for the Audio to Keyframes feature.
You can also set the Channel Mapping here too in case you select an other output than Project's Default.
Moving the Audio file on the Track
There are two options available to move the audio file on the Track, so you can set the start point of the audio on the timeline:
Use the Start Time field
You can type the start time to the Start Time (T:) field.
This field supports both absolute and relative positioning like keyframes.
Drag by Mouse
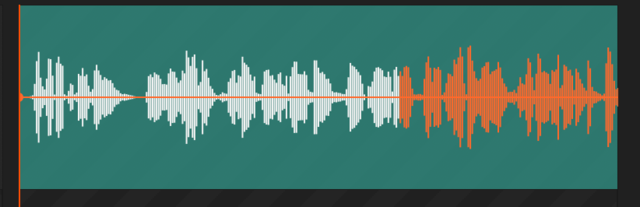
To drag the audio by your mouse you need to select the whole audio file (waveform) first, either by doing a double-click on the Track, or hit CMD+a (Select all) on the track.
Converting Audio to Keyframes
To convert the current audio data to keyframes, select the audio track and drag your mouse around to select the part of the audio waveform you want to convert to keyframes, then hit CMD+C to copy the Keyframes to the pasteboard, and hit CMD+V to paste them to a Track other than an Audio Track. You can start copy-paste from the Edit menu as well.
To select the whole Audio Track, for even dragging the Audio Start point on the timeline you need to do a double-click on the waveform, or use CMD+A to select the whole Track.
Filtering
Filtering does not affect audio playback, but the Convert Audio to Keyframes feature. To apply filtering, you can click multiple times to the Filtering button, to achieve Highpass, Mid, and Lowpass filtering. Cutoff frequency can be set up by right-clicking on the Filtering button.
Relative File Paths
If you want to force Vezér to use relative file paths for audio files, place your audio files next to the project file, or into a folder called /files/ which is next to the project file. This way, Vezér will use the relative path of the audio files, so you can safely move your project to an other computer or to different location on the current hard drive.